AmpliPro + Lyrion: Access Almost Any Streaming Platform
Most audio systems only support a handful of streaming services. Often multi-room audio solutions limit you to the big names like Spotify and Pandora. With the following set up for the AmpliPro we can unlock access to SoundCloud, Tidal, Deezer, and most any streaming platform you want. This blog post is going to walk through how to setup Lyrion Music Server (LMS) on an AmpliPro. Then describe how to use it to access streaming services not native to the AmpliPro like Soundcloud, Tidal and Deezer and also the services native to the AmpliPro; Spotify and Pandora.
Lyrion (formerly Logitech) is an open-source Music Server. A music server is software that allows you to manage and stream music across your network. It acts as a centralized hub for your music collection, accessible from various devices like phones, computers and tablets. After Logitech ended their support for it, the LMS open-source community took over maintaining and updating the software, hence the name change to Lyrion. Check out their wiki page for a more detailed breakdown on the history of this software.
—–
Configuring LMS on your AmpliPro
In order to activate LMS on your AmpliPro, from your AmpliPro interface you need to click:
Settings > Configure > LMS Mode


Turning LMS on does a couple of things. It automatically downloads the current config of the AmpliPro to your device. (all your streams, zone names, groups, etc.) If you’re on a laptop, phone, or whatever else, the config is saved onto that device you’re using. It saves it, because turning on LMS mode wipes the current config by installing a different config, one for LMS. If you’re just starting with your AmpliPro and haven’t named your zones or made any streams yet, this is great. Four LMS streams have been added to your AmpliPro “Music 1” through “Music 4”
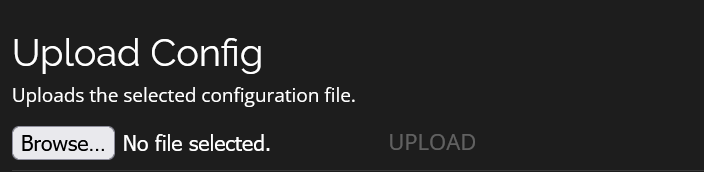
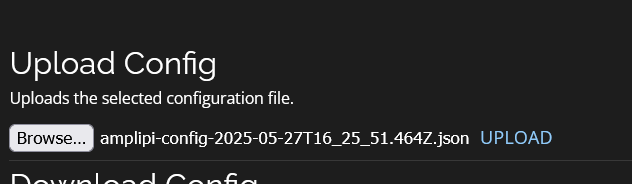
If not, like my AmpliPro with a bunch of settings and streams that I didn’t want to lose. To prevent losing them, turn on LMS mode like normal, then upload the config that just automatically downloaded:
Settings > Configuration > Browse and select the config file > Upload config
After this your configuration is just like before with LMS mode on. But the “Music 1 - 4” streams will be removed. You can fix this by re adding them:
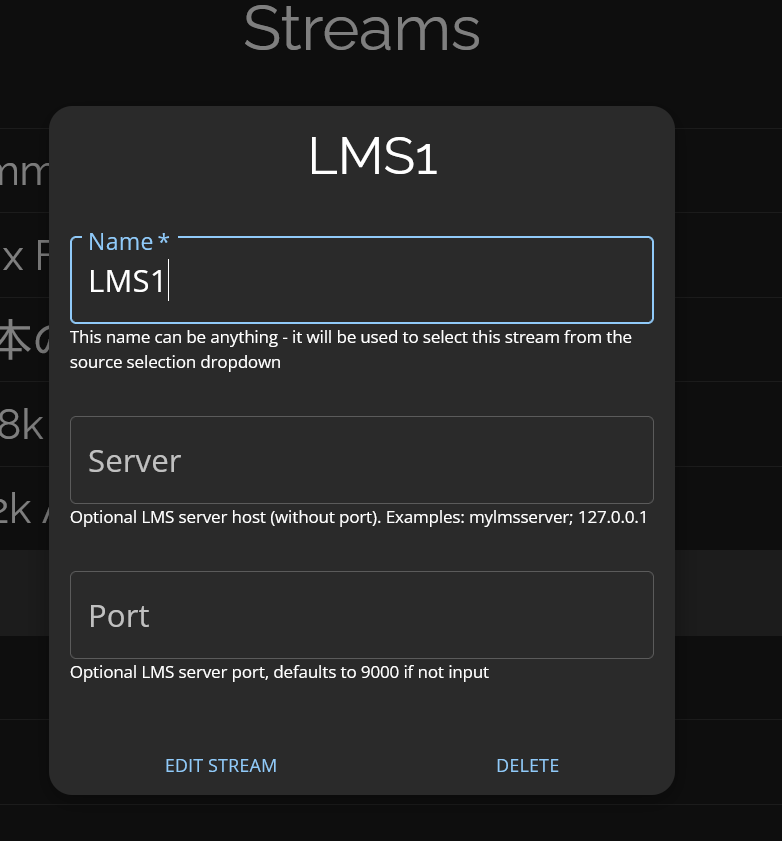
Settings > Streams > LMS Client > Add a name, leave the ‘server’ and ‘port’ fields blank
The LMS client names can be whatever you want them to be. You may find it more useful to name them something like “Soundcloud” or “Disco” depending how you want to use the LMS streams. You are also not limited to creating just 4 streams. But the number of simultaneous streams played at once is limited by the hardware. (One AmpliPro supports up to 4 simultaneous LMS streams)
Adding Streaming Plugins
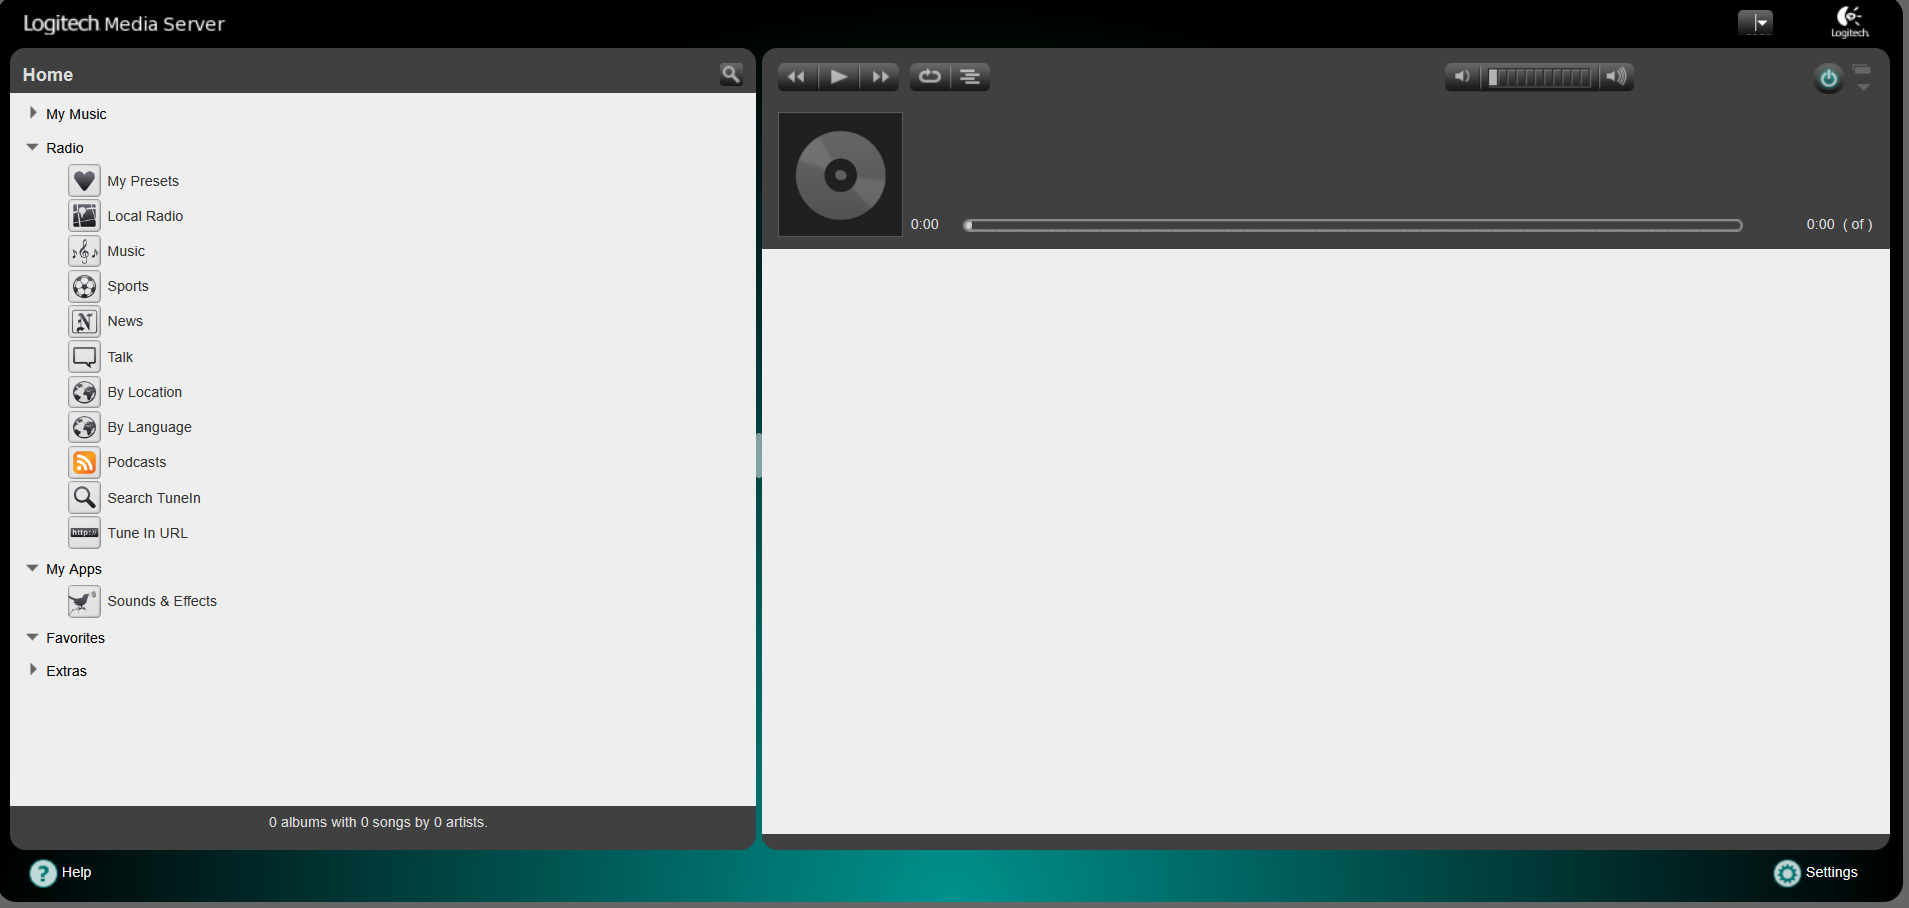
The default LMS set up has the option to stream local and internet radio streams. For other streaming services we will need to add third party plugins.
Amplipi.local:9000 > Settings > Manage Plugins >

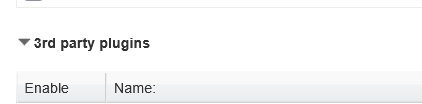
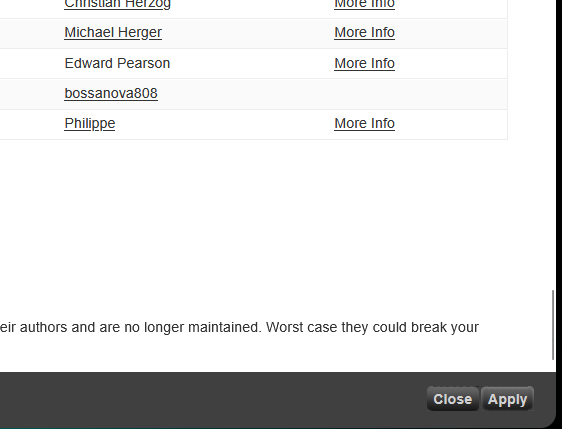
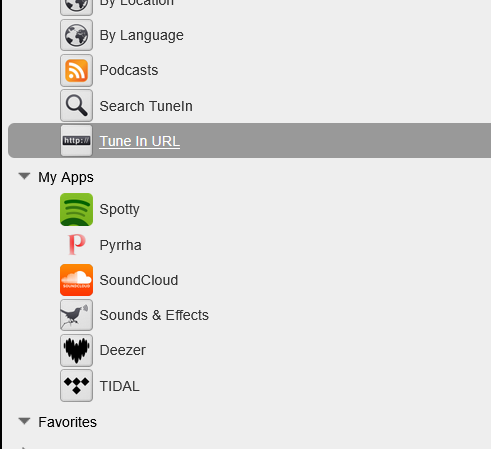
From here you’ll see all your active plugins at the top of the list. Scroll down to third party plugins and check the box corresponding to the streaming service you’d like to use : Deezer Pyrrha (Pandora) Soundcloud Spotty for squeezebox. Still spotty (Spotify) Tidal
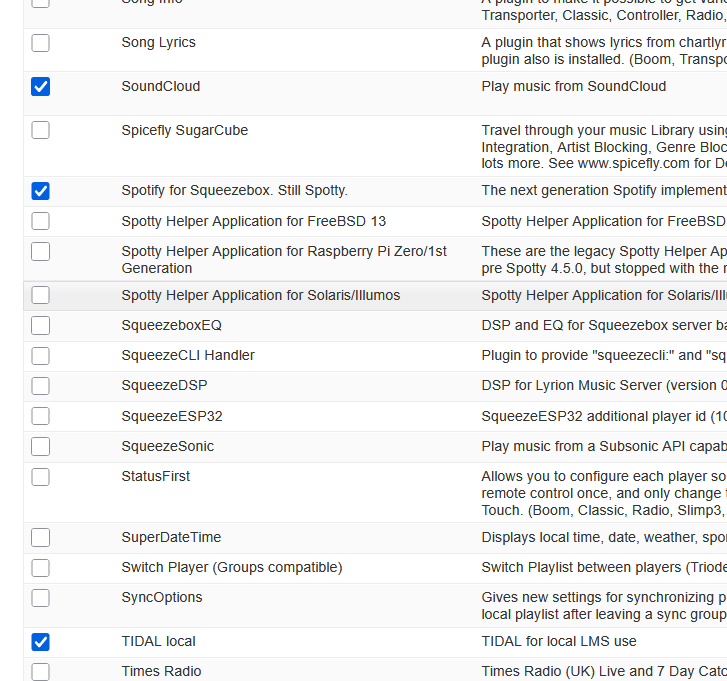
Once all the selections are checked hit the “Apply” button at the bottom of the screen. A restart the server pop up will appear, go ahead and restart it. Once its booted back up the newly added plugins should appear in the active plugins section.
Connecting Your Streaming Accounts
The set up for each plugin is a little different. I’ll provide instructions for each one below. To get to the set up screen click the settings link for the corresponding plug in.

Setting Up Deezer
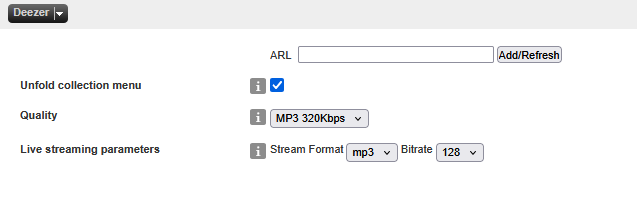
- At the top of the page is a box to enter an ARL. An ARL (Authentication Request Library) for Deezer is a cookie that allows Deezer apps to verify your Deezer log in credentials without requiring you to re-enter your username and password each time This value will come from the Deezer site.
- To obtain the ARL, open a new browser tab and sign in to your Deezer account.
- Once logged in, open your browser’s developer tools (usually F12 or Ctrl+Shift+I).
- Go to the cookies tab and find the cookie named
arlfor www.deezer.com. - Copy and paste the cookie into the ARL field and click apply.
Setting Up Pyrrha (Pandora)
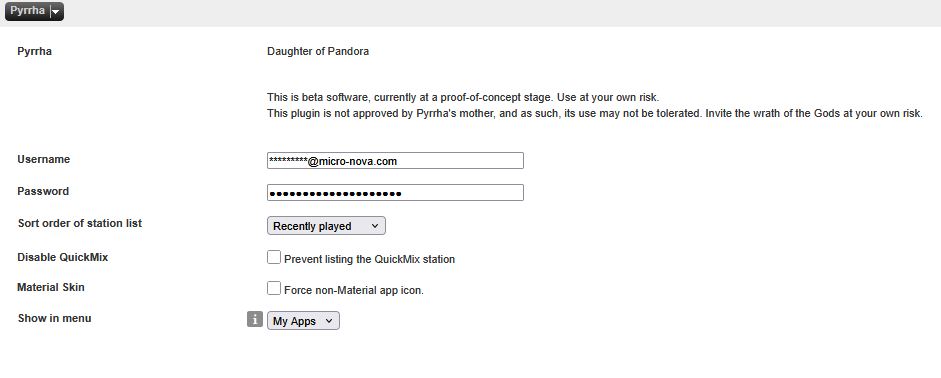
This one is easy, just enter your log in credentials for your pandora account, then click apply.
Setting Up Soundcloud

Very simple, click the orange ‘Connect with SoundCloud’ button and log in.
Setting Up Spotty (Spotify)
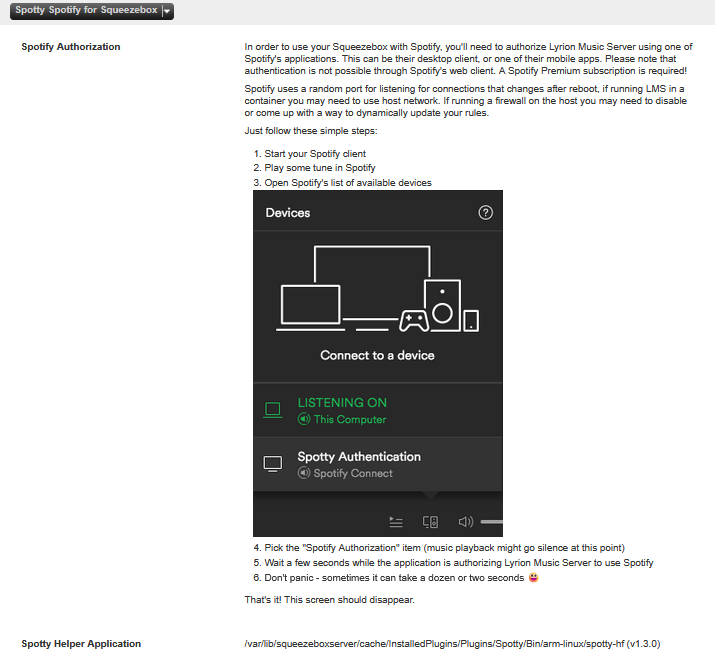
- Start your Spotify on a device connected to the same local network. (The same wifi)
- Play a song in Spotify
- Open Spotify’s list of available devices (click the speaker icon, lower right)
- Pick the “Spotify Authorization (amplipi)” item (music playback might go silence at this point)
- Wait a few seconds while the application is authorizing Lyrion Music Server to use Spotify
- Don’t panic - sometimes it can take a dozen or two seconds 😃
Setting Up Tidal
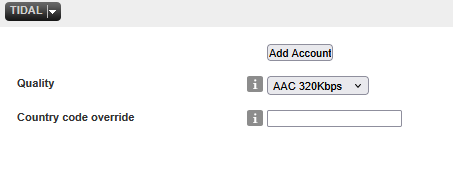
Click add account, then click the link and log in to your account and grant Lyrion Music Server access to your account.
Final step, play some music!
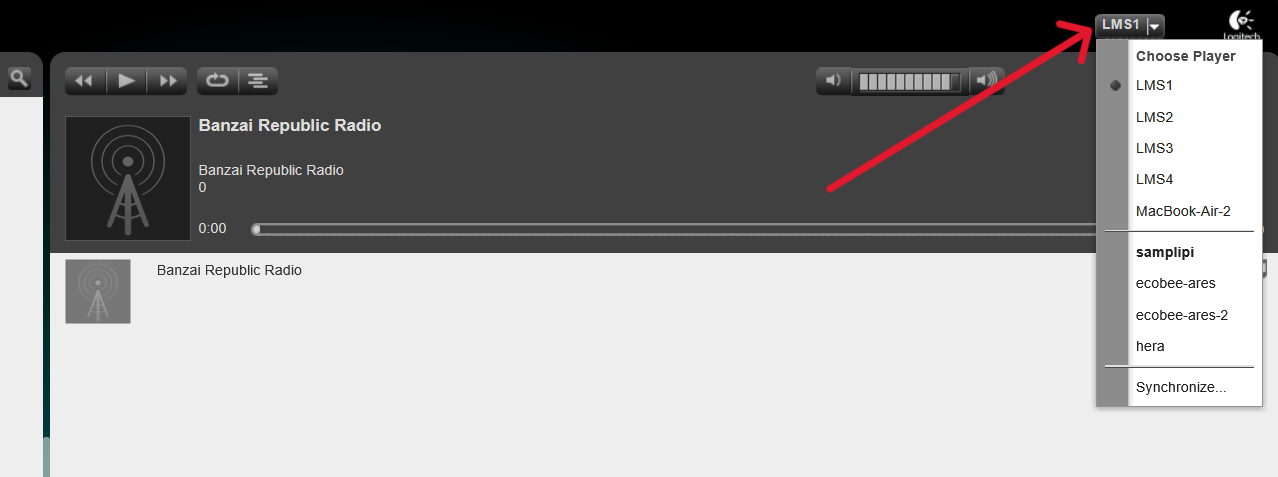 The LMS streams you made on your AmpliPro should appear in the dropdown menu as ‘players’ go ahead and select one.
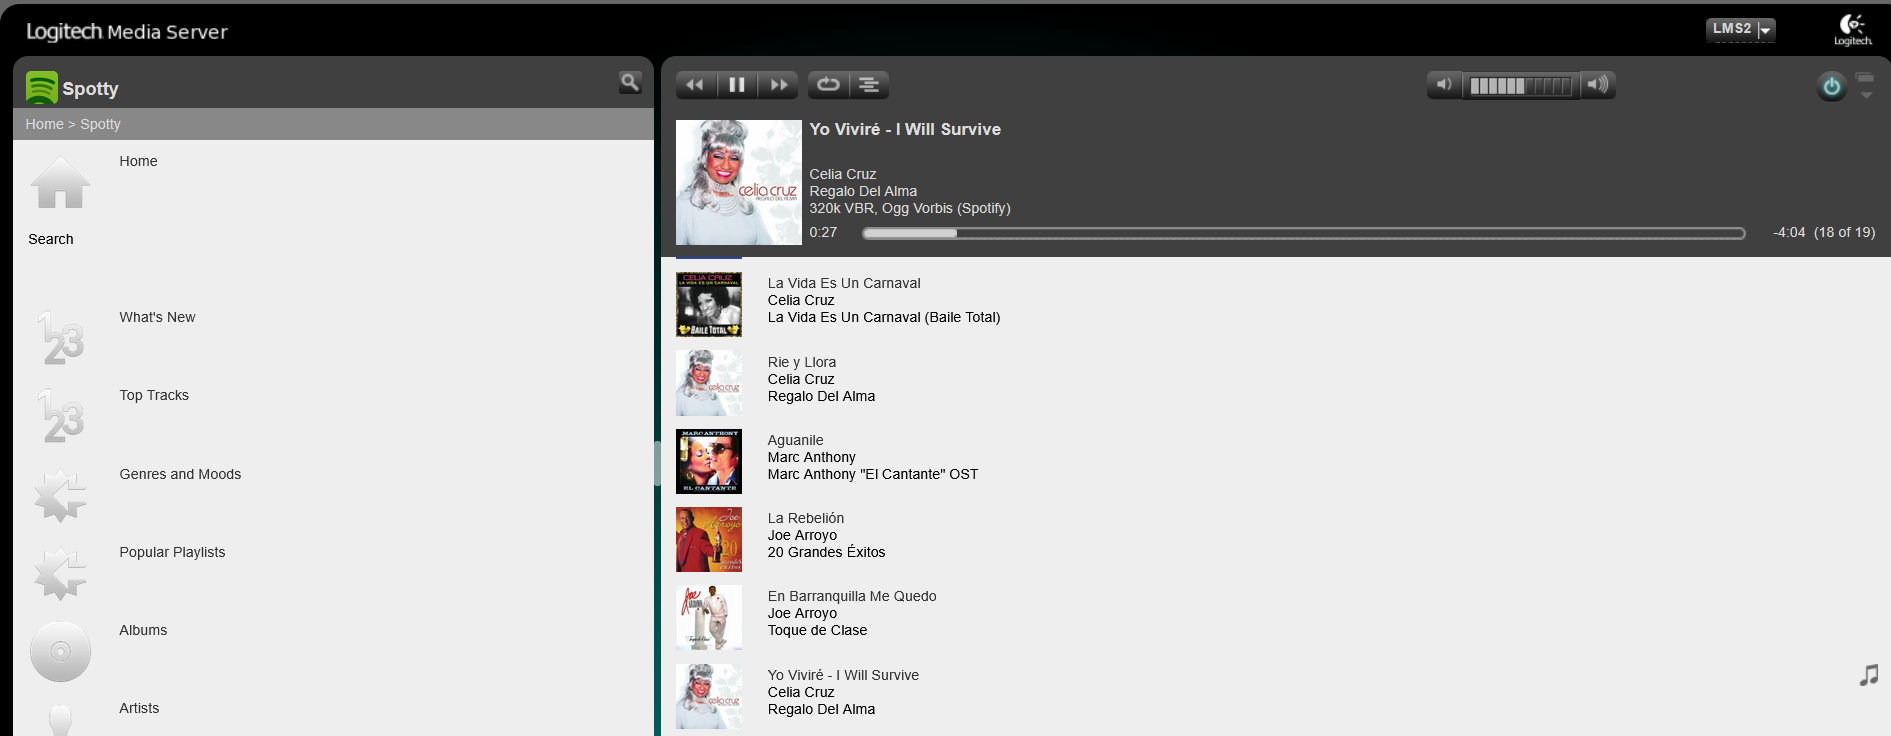 On the left side of the screen is your menu of options. Select from the options and hit the play button.
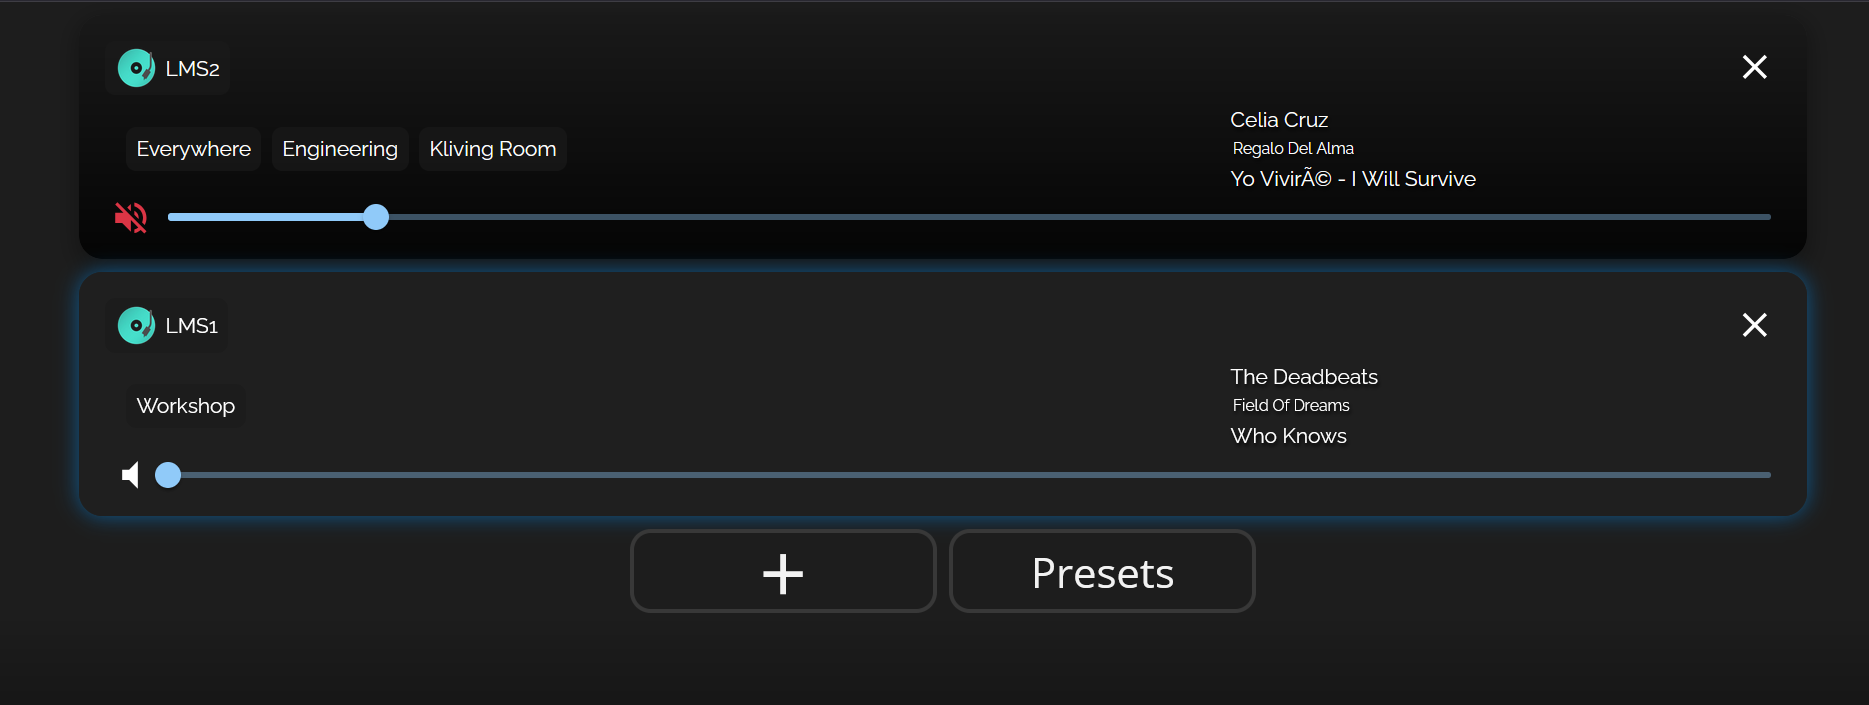
Go to your AmpliPro’s home screen and select your LMS players and enjoy your music.
Note: Each LMS player has a volume control in addition to the AmpliPro’s volume settings. I recommend going into the LMS Player settings and selecting a fixed volume at 100%
Amplipi.local:9000 > Settings > Player > Basic settings > Audio > Volume Control > Output level is fixed at 100%
Using LMS with External Servers
The AmpliPro isn’t limited to running its own LMS server. You can also connect to LMS servers running on other devices in your network, such as:
- Desktop computers
- Network-attached storage (NAS) devices
- Dedicated media servers
- Raspberry Pi setups
To connect to an external LMS server:
- Create an LMS client stream on your AmpliPro
- In the “server” field, enter the IP address or hostname of your external LMS server
- Specify the port (usually 9000) if different from default
This setup is particularly useful if you already have a music server running elsewhere or want to centralize your music library management on a more powerful device.
Wrapping Up
While it would be ideal if the AmpliPro natively supported every streaming service, Lyrion Music Server provides an excellent workaround for accessing platforms like SoundCloud, Tidal, and Deezer that aren’t built into the system. The setup process might seem involved initially, but once configured, you’ll have access to a much broader range of music sources.
This guide covers the essentials to get you started, but LMS is great software with many features, from custom libraries to additional plugins, there’s plenty more to explore.
Have questions about the setup process or want to share your LMS experience? Feel free to reach out, we’d love to hear how you’re using this setup in your own audio system.
Discourse Forums: https://amplipi.discourse.group/
AmpliPi’s Github: https://github.com/micro-nova/AmpliPi
Support support@micro-nova.com