Introduction to the AmpliPro API
AmpliPro hosts an open, well documented API to control what streams are playing to what zones. This is the beginning of a series of blog posts introducing AmpliPro’s API. In this post, we will begin by using the automatic documentation & playground for the API. This article assumes you have a set of speakers set up on Zone/Output 1. We hope that by the end of this blog post series, you will have the knowledge to begin implementing your own custom integrations for AmpliPro!
Using the API
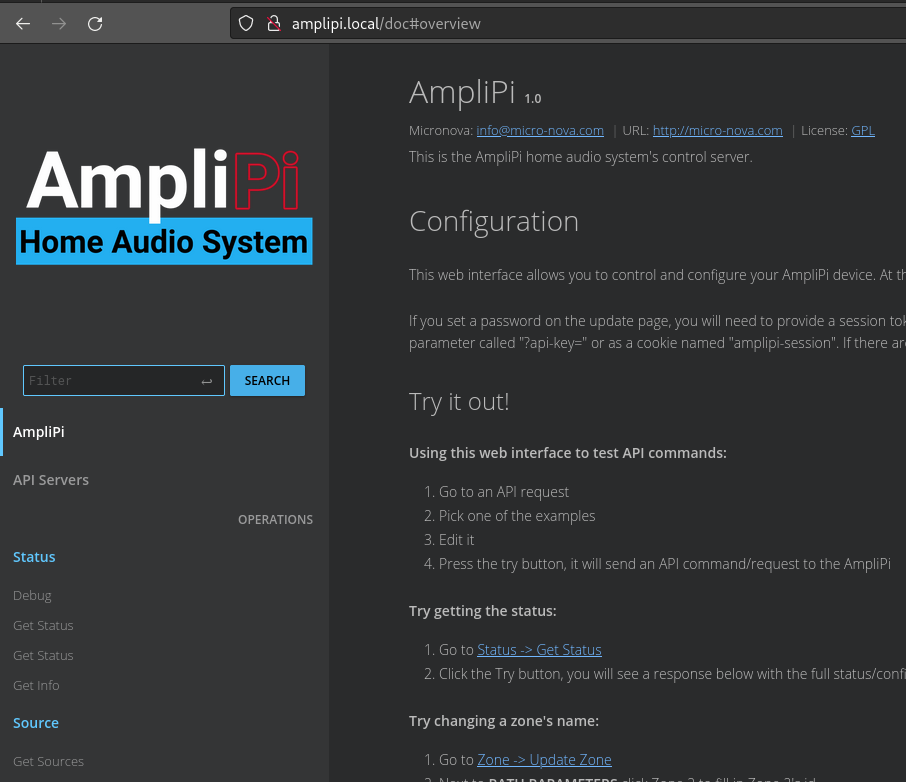
Next, let’s get a handle on the API itself. AmpliPi, the software that runs on AmpliPro, is open source and uses a very nice Python web server called FastAPI. One super nice feature of FastAPI is the autogenerated OpenAPI documentation it produces. Every AmpliPro runs this documentation endpoint at /doc - check it out! This documentation is also available on the internet, with somewhat less functionality.

First steps
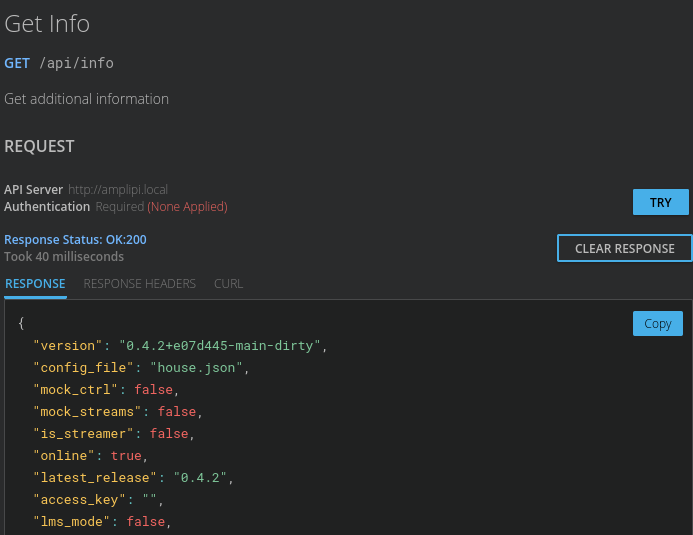
The documentation web interface shows all the API endpoints available. It allows you to test queries from right within the app. As a simple example, click the section labeled Get Info on the left of this interface, and click the Try button on the right hand side of the screen. The web app will send your query and show the response in an interface that drops down. Play with it! Note the curl tab - for every request you generate using this service, you can also generate a curl command that does the same thing. This makes writing simple shell scripts that use the AmpliPro’s API very easy!

Playing a stream
Let’s try another example. A “source” in AmpliPi is a hardware audio device that streams can play to. In an AmpliPro, sources connect to a preamp that muxes the audio to zones. In an AmpliPro Streamer, a source outputs unamplified sound directly to RCA Outs on the back of the appliance - there is no muxing. In the Source heading, click Set Source. This query takes a parameter and a request body. The parameter is the Source ID; let’s leave it as the default, source 0. In the Request Body, use the below code:
{
  "input": "stream=1000"
}
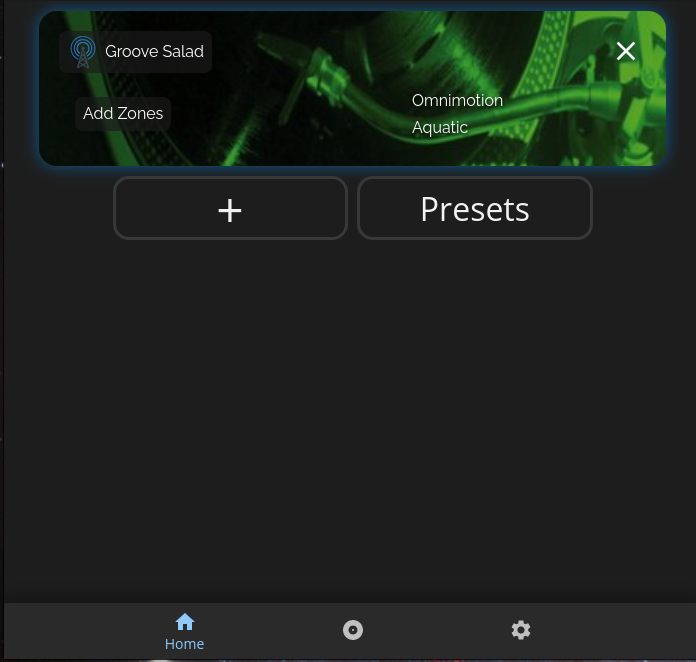
Click the Try button. In a factory-reset AmpliPro, this will set source id (sid) 0 to play the internet radio station Groove Salad from SomaFM; if you have removed that stream, it will play whatever stream is id 1000. You’re playing music now! If you navigate to the frontend of the AmpliPro, you will see something that looks like this:

But wait - if you’re using an AmpliPro and not a Streamer, there is no sound playing 🤔 This is because we do not have any zones attached to sid 0. Let’s attach zone 1 to source 0. Click Set Zone. You’ll note in these examples that zone IDs (zids) are zero-indexed; in other words, Zone 1 has a zone id of 0, zone 2 has zone id 1, and so on. The path parameter has a default zid of 0; we will leave that unchanged. Under the heading called Request Body, there is a drop-down menu for examples; select the one called Change audio source, and change the source_id to 0. It should look like this:
{
  "source_id": 0
}
Click Try. If you have speakers plugged in to Zone 1, you should hear gentle ambient beats to chill and code to! Groovy 😎
Conclusion
I hope with this walkthrough I’ve demonstrated that the AmpliPro’s API is easy to use, well documented, and flexible enough to script your own automations. We are writing a couple more posts in this series - next up is getting a bit more complex when scripting with the AmpliPi! Additionally, we’ll be discussing our spruced up Home Assistant integration, in case you want to use that system to run deeply integrated automations.