Configuring AmpliPro for use with a Nice/ELAN System
Both the AmpliPro Controller and the AmpliPro Streamer can be configured to work seamlessly with an existing Nice (formally ELAN) system. In this guide, we will walk you through the process of configuring the AmpliPro for use with a Nice system.
Connecting to the AmpliPro
This procedure should be done on a computer connected to the same local network as the AmpliPro. To start, open up a web browser and navigate to amplipi.local. Windows 7 users will need to type the IP address found on the unit’s display into their web browser instead. Be sure you only have a single AmpliPro unit on the same local network at any given time.
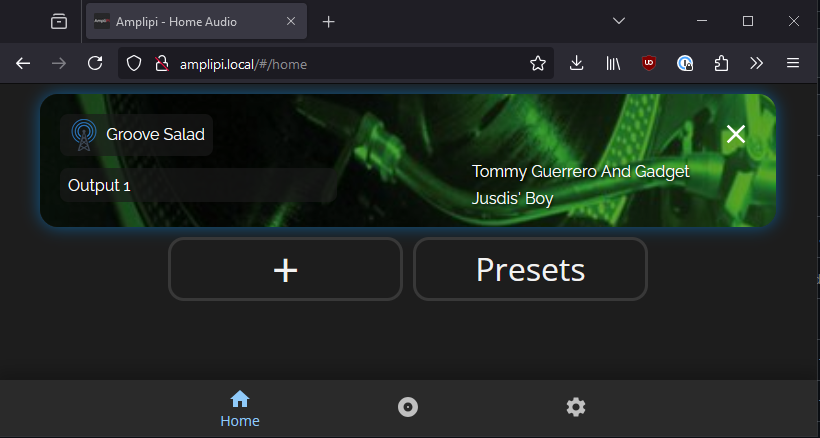
Entering LMS Mode
From the Home screen, tap the Gear icon at the bottom right to access Settings. Then, select “Configuration”. Halfway down the configuration page, you will find an option to enable Lyrion Media Server (LMS) Mode.
Switching AmpliPro to LMS mode will automatically reconfigure the unit for integration with third party systems like Nice. You can think of LMS mode as remote control mode. Once activated, you won’t use the native AmpliPi app for audio control anymore, as everything will now be managed through the Nice interface.
When you toggle LMS mode, the system will prompt you to save your current configuration. This action preserves any settings made while using the AmpliPro in native mode (via the AmpliPi App). Be sure to save this configuration file so you can reload it if you decide to switch back to native mode.
After enabling LMS mode, click the large “X” at the top right and then click the “Home” icon at the bottom left to return to the Home screen. The Home screen has been preconfigured for remote control mode, please refrain from making any changes here.
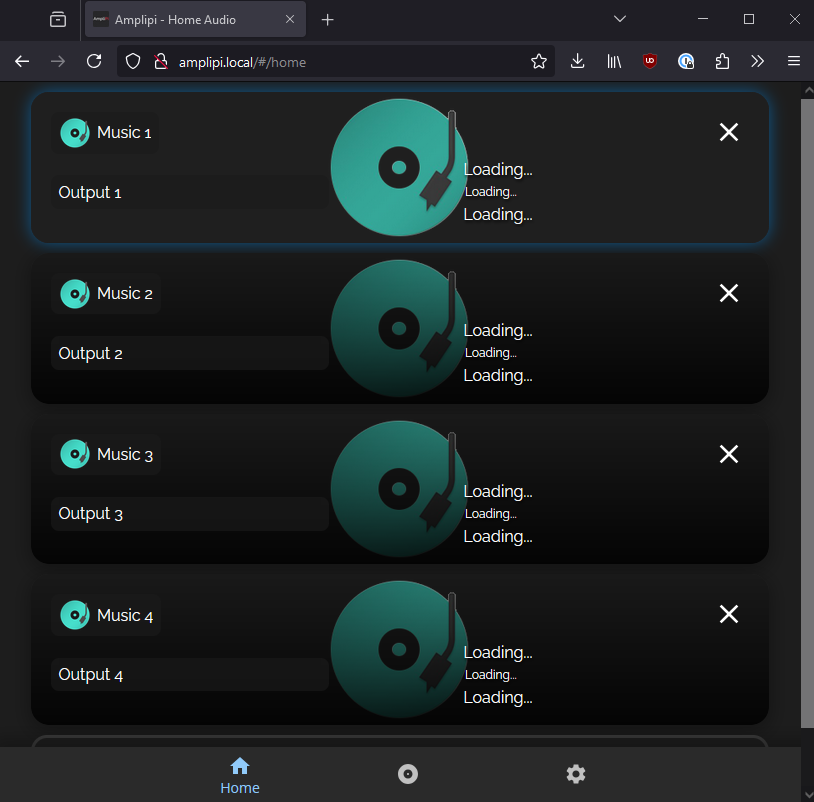
Configuring Streams in LMS
Next, we need to set up the different streaming audio services that will be accessible through our Nice system, including Pandora, Spotify, Tidal, Deezer, TuneIn, and AirPlay. While user control will take place through the Nice App, we will use the LMS interface on the AmpliPro system to configure these streaming services.
To do this, navigate your web browser to amplipi.local:9000. This will take you to the LMS Home screen.
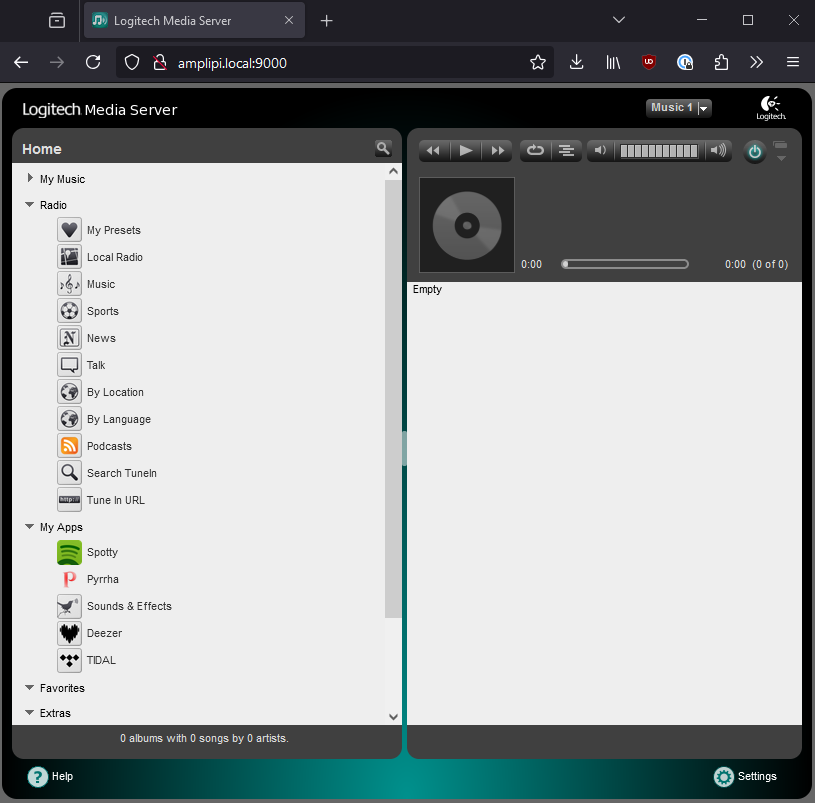
Spotify
First, let’s set up our Spotify streams. Please follow these steps to add a stream for each Spotify account you want to use.
Click on the Gear icon in the bottom right corner of the screen. This will take you to the Settings page. From there, click on the Advanced tab at the top right. On the top left, click the drop-down box and select “Spotty Spotify for Squeezebox”. This will bring you to the Spotify Authorization page.
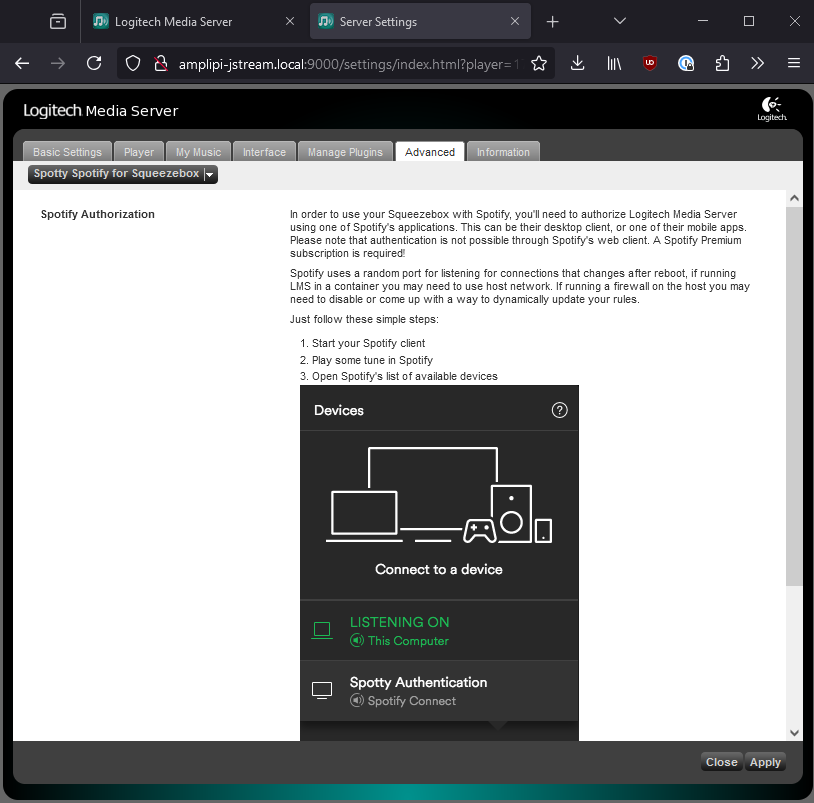
Next, open Spotify on a mobile device connected to the same local network as the AmpliPro. Play a song and tap the speaker icon in the lower right corner of the Spotify app. This will display a list of devices to connect to. Locate the device named Spotify Authorization (amplipi) and tap it. After doing this, the LMS settings page in your browser will refresh. Keep all selections on the page at their default settings and click the “Apply” button in the bottom left corner. Your Spotify account is now linked to the AmpliPro.
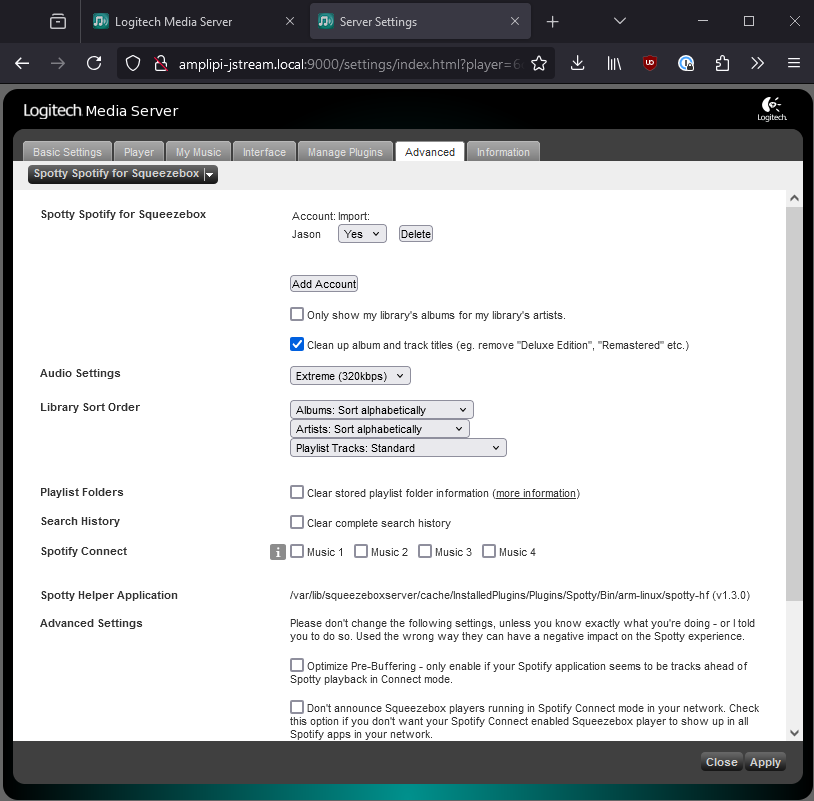
You can continue to add Spotify accounts by clicking the “Add Account” button. This will take you back to the previous Spotify Authorization page. From there, follow the same procedure.
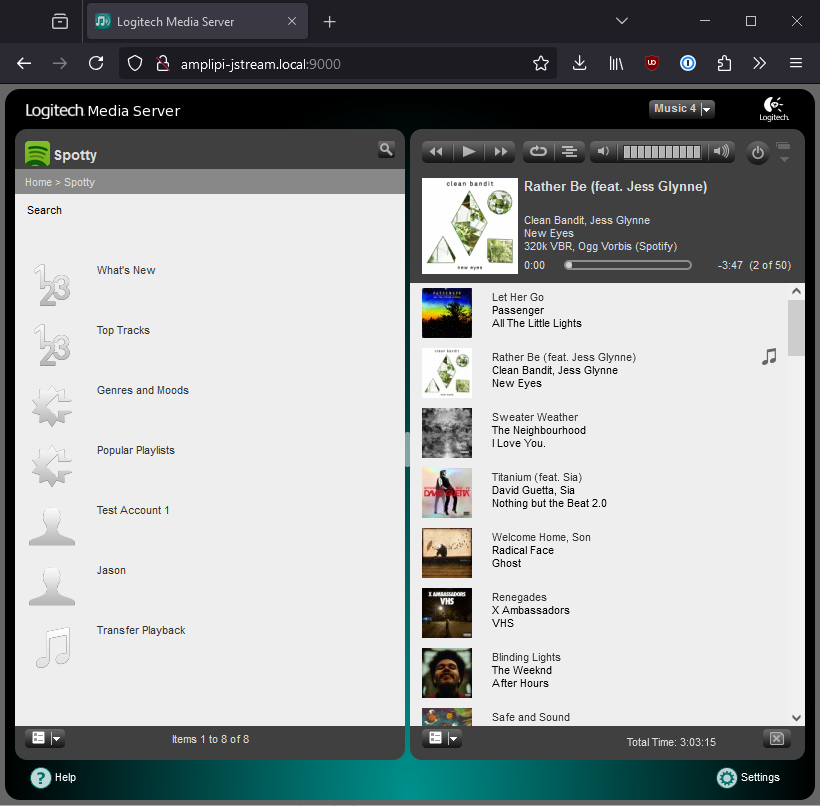
Once you’ve added all your Spotify accounts, click on “Logitech Media Server” at the top to return to the LMS Home screen. To confirm that your Spotify accounts have been added correctly, click the Spotty icon under “My Apps.” You should see a person icon for each Spotify account you’ve added. As shown below, I have added two Spotify accounts.
Pandora
Next, let’s add our Pandora account. From the LMS Home screen, click the Gear icon in the bottom right corner. From there, click the Advanced tab at the top right. On the top left, click the drop-down box and select “Pyrrha”. Enter your Pandora username and password and then click the “Apply” button at the bottom left corner of the page. You will see a message at the top of the page that says, “Changes have been saved.”
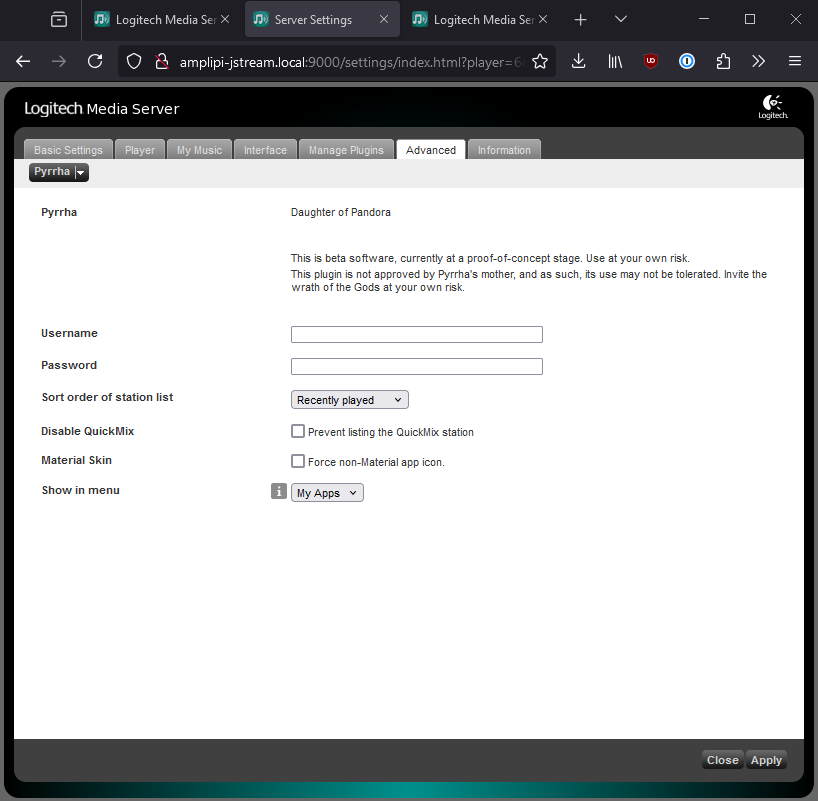
To test your Pandora account, click the words “Logitech Media Server” at the top to return to the LMS Home screen. From there, click the Pyrrha icon under “My Apps” to view your Pandora stations.
Deezer
To add your Deezer account, return to the LMS Home screen. From there, click the Gear icon in the bottom right corner. Next, click the Advanced tab at the top right. On the top left, click the drop-down and select “Deezer”.
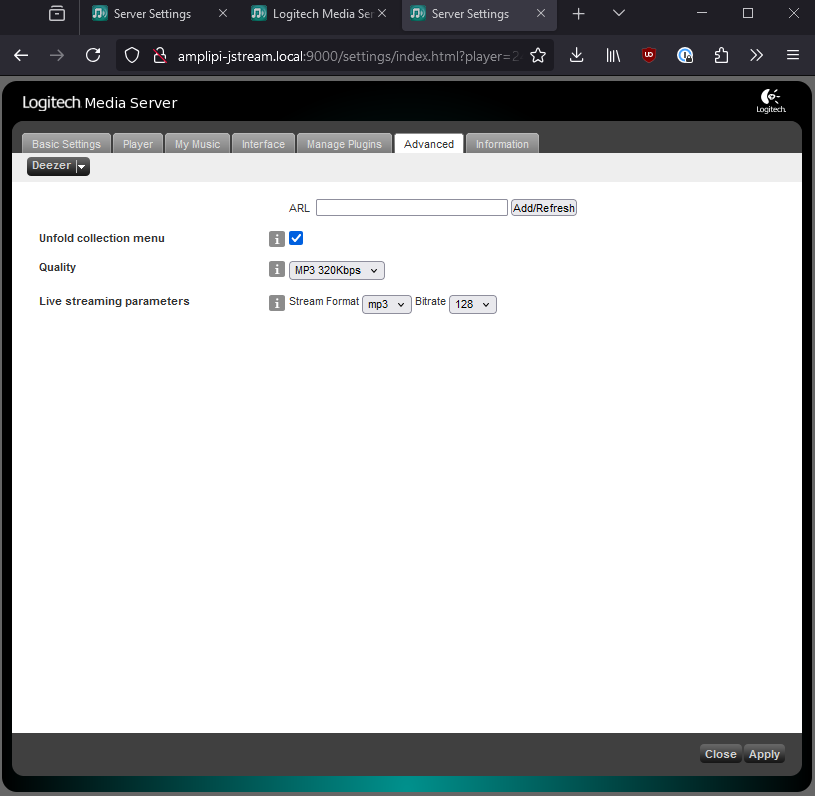
At the top of the page is a box to enter an ARL. This value will come from the Deezer site. To obtain the ARL, open a new browser tab and sign in to Deezer. Once logged in, open your browser’s developer tools (usually F12 or Ctrl+Shift+I). Go to the cookies tab and find the cookie named arl for www.deezer.com.
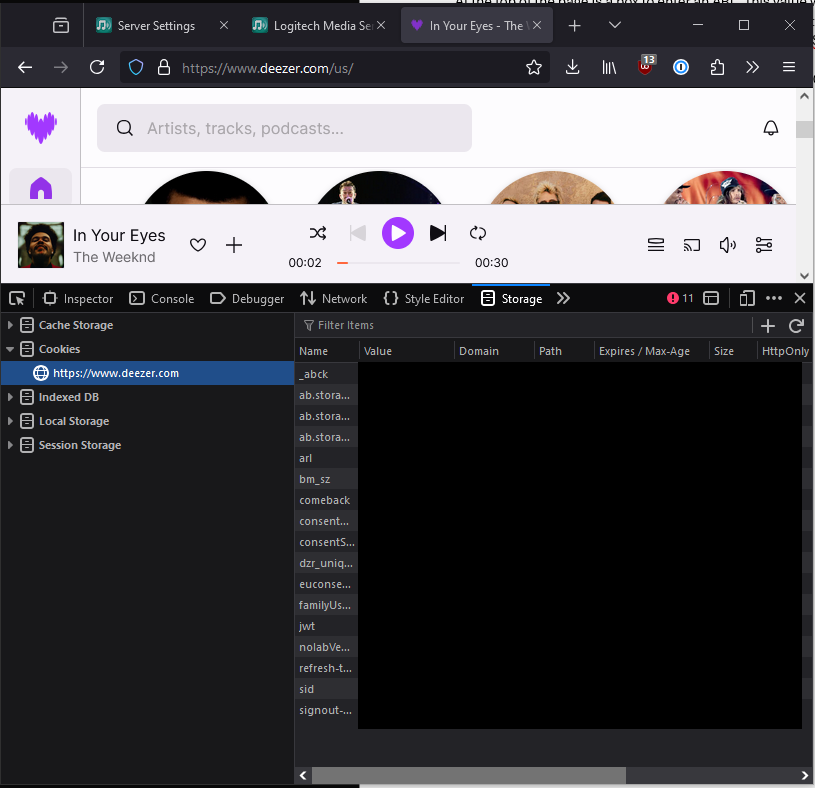
Copy the value of this cookie and paste the ARL cookie value into the box on the LMS Deezer configuration page. Click the “Apply” button at the bottom left corner of the page to link your Deezer account.
You can continue to add additional Deezer user accounts by adding ARLs to the box and clicking “Apply” in the Deezer configuration window.
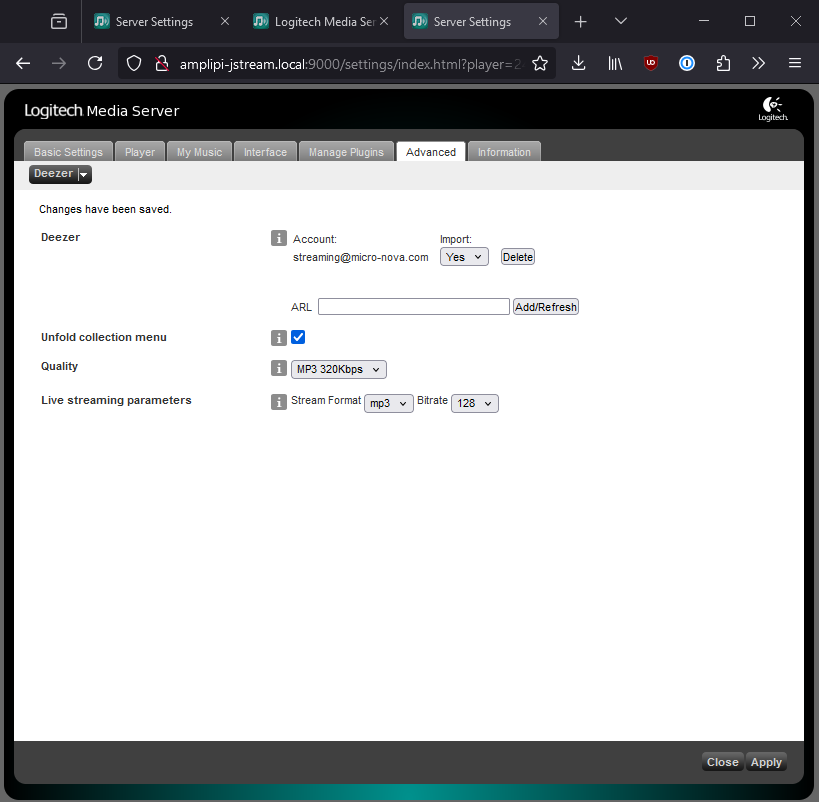
To test your Deezer account, click the words “Logitech Media Server” at the top to return to the LMS Home screen. From there, click the Deezer icon under “My Apps” to view your Deezer account.
TIDAL
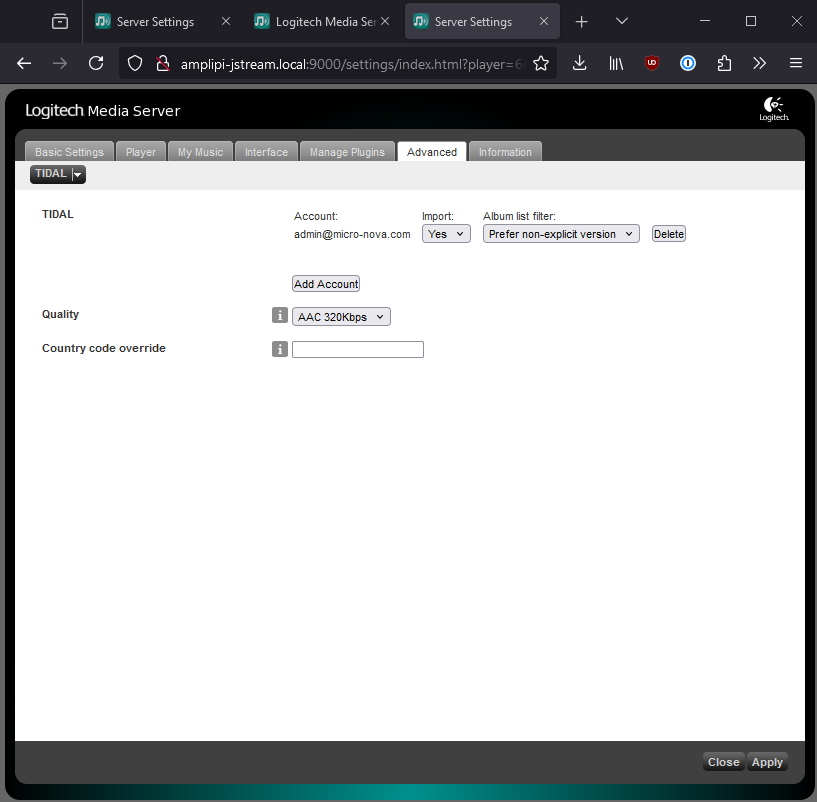
Finally, lets add our TIDAL accounts. From the LMS Home screen, click the Gear icon in the bottom right corner. From there, click the Advanced tab at the top right. On the top left, click the drop-down box and select “TIDAL”. Click the “Add Account” button.
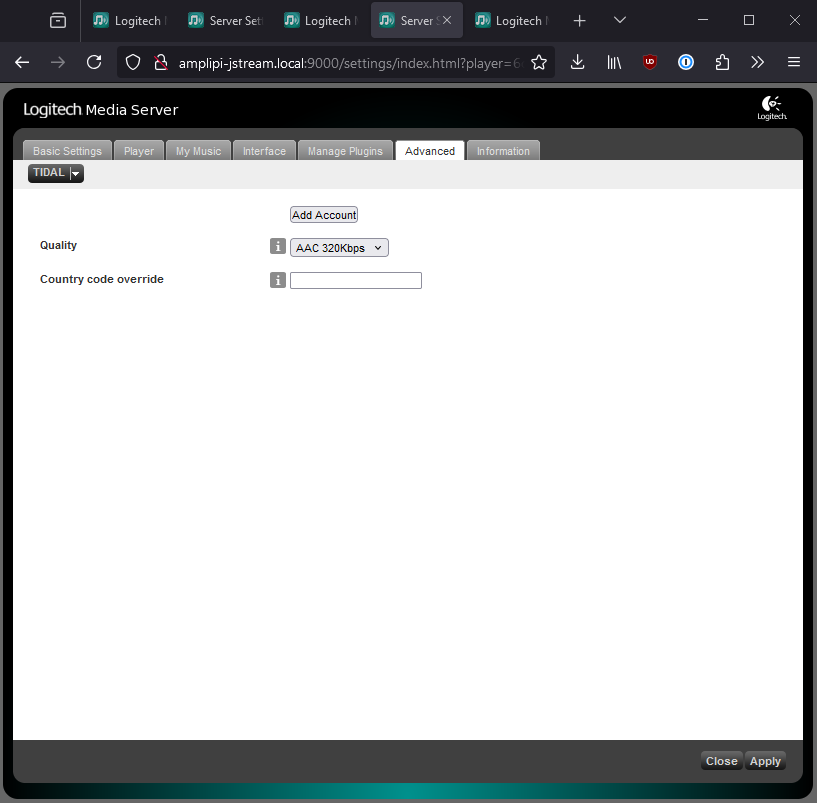
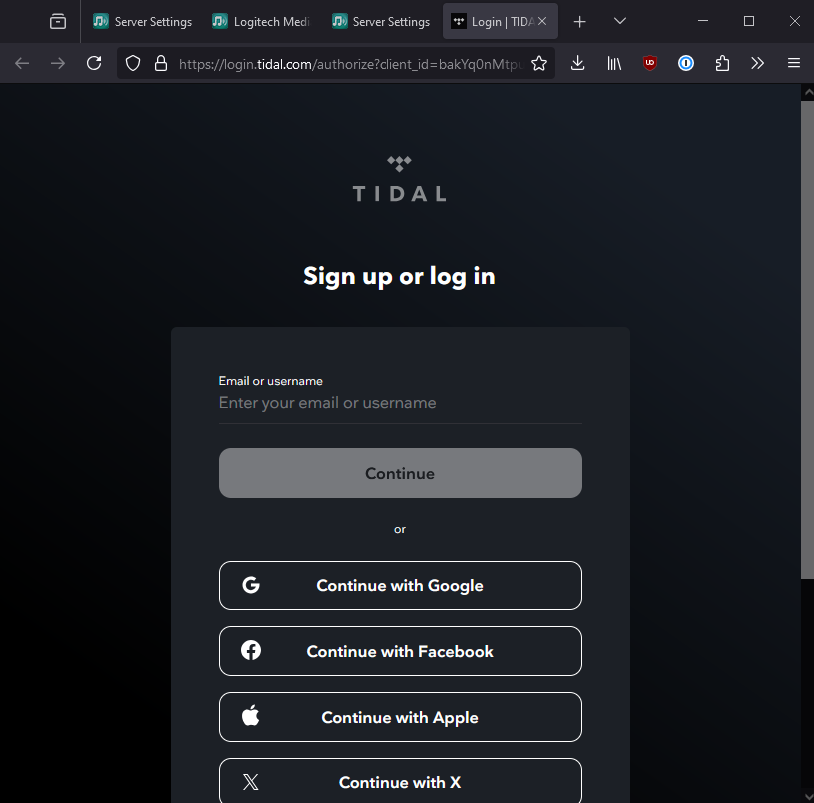
Next, click the link to authenticate with TIDAL. This will open a new tab in your web browser. Enter your username and password on the TIDAL page. After logging in, you’ll be directed to a page to link your device to your TIDAL account. Click the continue button to finish the process. You will then see a message stating, “Your device was successfully linked to your account.” At this point, you can safely close that browser tab.
Returning to the TIDAL settings page in LMS, you should now see your newly added TIDAL account. You can add more TIDAL accounts by clicking the “Add Account” button and repeating the process.
To test your TIDAL account, click the words “Logitech Media Server” at the top to return to the LMS Home screen. From there, click on the “TIDAL” icon under “My Apps” to view your TIDAL songs, artists, and playlists.
Integrating AmpliPro with Nice/ELAN
Now that your AmpliPro is properly configured, it’s time to integrate it with your Nice system! You’ll need the Nice AmpliPro driver, which can be found here.
To finish the integration, refer to the driver installation guide available here.